Vickys Halloween Pumpkin Piñata Cake, Decorating Idea. Decorate your front porch or table for Halloween with these fresh pumpkin decorating ideas. Choose from no-carve painted pumpkins , carved pumpkins In addition to these pumpkin decorations, try your hand at one of these wickedly wonderful Halloween decorating ideas. Who's ready to put the "treat" in trick or treating?
 Stuff the piñata with candies based on the size of the opening to avoid clogging. This pumpkin cake dessert idea is flavored with vanilla and almond — and only looks like a squash. How to Arrange Furniture: No-Fail Tricks. You can cook Vickys Halloween Pumpkin Piñata Cake, Decorating Idea using 8 ingredients and 14 steps. Here is how you cook that.
Ingredients of Vickys Halloween Pumpkin Piñata Cake, Decorating Idea
- It’s of Your favourite 2 x 8" cake batter.
- You need 2 of 7"x 3" bundt tins.
- Prepare 350 g of icing / powdered sugar.
- Prepare 150 g of gold foil Stork margarine block.
- You need of orange gel food dye (or red + yellow).
- Prepare of black piping icing.
- You need 500 g of white ready roll fondant icing.
- You need of Sweets to fill the cake – I use Haribo gummies, jelly beans etc.
Arranging furniture is one of the most daunting—yet most important—design decisions. The top countries of supplier is. Get your Halloween party started with a mirror-ball pumpkin. Lay strips of metallic silver duct tape onto parchment paper, then cut the tape into squares.
Vickys Halloween Pumpkin Piñata Cake, Decorating Idea step by step
- Preheat the oven to gas 4 / 180C / 350F and grease & flour the bundt tins well.
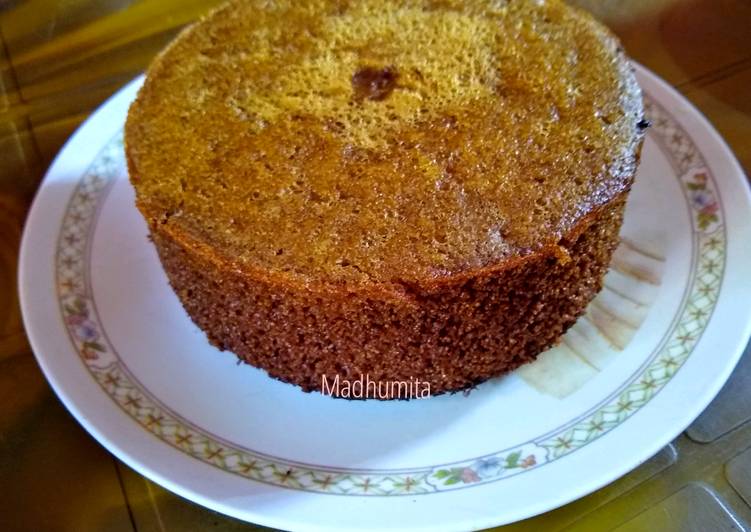
- Divide the cake batter between each tin. Fill them up to 3/4 full only. I used my entire free-from Coconut Victoria Sponge recipe batter here which normally fills 2 x 9" rounds. A cake containing egg will rise higher.
- Bake for 25 – 30 minutes for a plain sponge cake. A heavy cake or fruit cake will need up to an hour to bake. Test with a cocktail stick to make sure they're cooked through. The cakes should have pulled in from the sides of the tin when done and be firm to the touch.
- Let stand for 15 minutes in the tins.
- Run a knife gently around each side of the tins then invert the cakes onto a wire rack to cool completely. If the cake won't come out, soak a tea towel in hot water, wring it out and let the cake tin stand on top of it for 10 minutes. It should release easily then.
- Cream the Stork and icing sugar together, adding a touch of orange gel food dye to make it a nice pumpkin colour. You won't need all of the buttercream but better to have too much! It'll keep fine in a container in the fridge for another day.
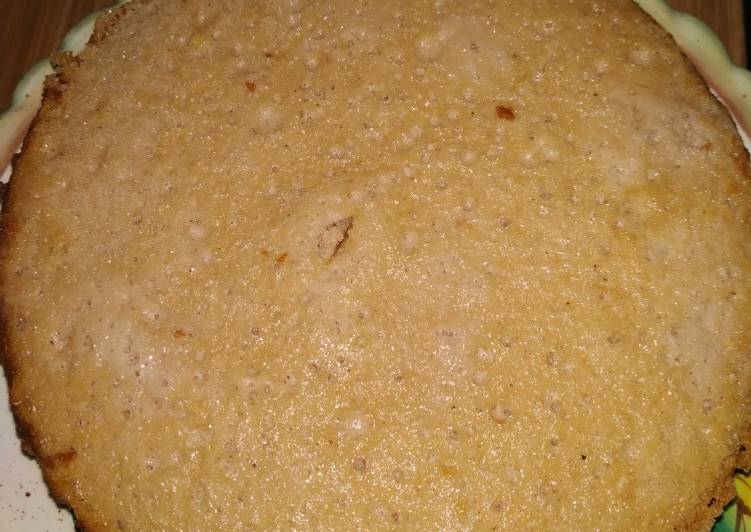
- Sandwich the 2 cakes together with a layer of the buttercream. The bottom cake should be rounded end down and the top cake rounded end up.
- Now cover the rest of the cake with the remaining buttercream and skim it smooth.
- Colour the fondant ready roll icing in the same way and roll out into a large circle.
- Cut a wide strip of fondant and line the inner hole then fill with the sweets.
- Roll out the remaining fondant and lay over the whole cake, smoothing down and cutting off the excess with a sharp knife. Tuck the loose edge in underneath.
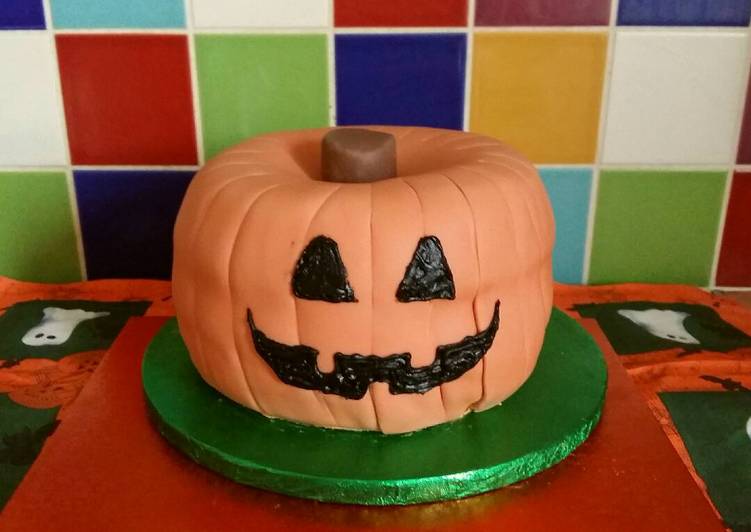
- Use the back of a knife to make the pumpkin skin markings.
- Use the black piping icing to make the face.
- Add a mixture of other gel colours to the fondant offcuts to make brown and form into the stalk. Don't make it too heavy or it'll tear through the ready roll icing on top.
Not only are they less mess, they are so easy that kids can take the lead decorating this Halloween. These no-carve pumpkin decorating ideas are mess-free & kid-friendly! This classic Halloween activity gets an upgrade with ideas for confetti Ditch the carving kits and all that mess of pumpkin guts and seeds and instead choose one of these kid-friendly, no-carve pumpkin decorating ideas. Come Halloween, most of us bust out our art skills (no matter how novice) and try to create our own pumpkin masterpiece. These expert carving tips will have your gourds looking and smelling good the entire trick-or-treating season.